

Beginner’s Guide to Climbing Pike’s Peak
Shot on iPhone 11 after reaching the Summit
If your interested in climbing your very first 14’er then this is the place for you! I will guide you through the planning process for successfully summitting your very first 14,000 foot mountain safely! In this case, Specifically summiting Pike’s Peak. This type of hiking and climbing is truly a blast and will boast some of the greatest memories. Where finally reaching the top and taking in the amazing views comes with extreme gratification and humbling thoughts, it is the memories from the climb that you will cherish forever.
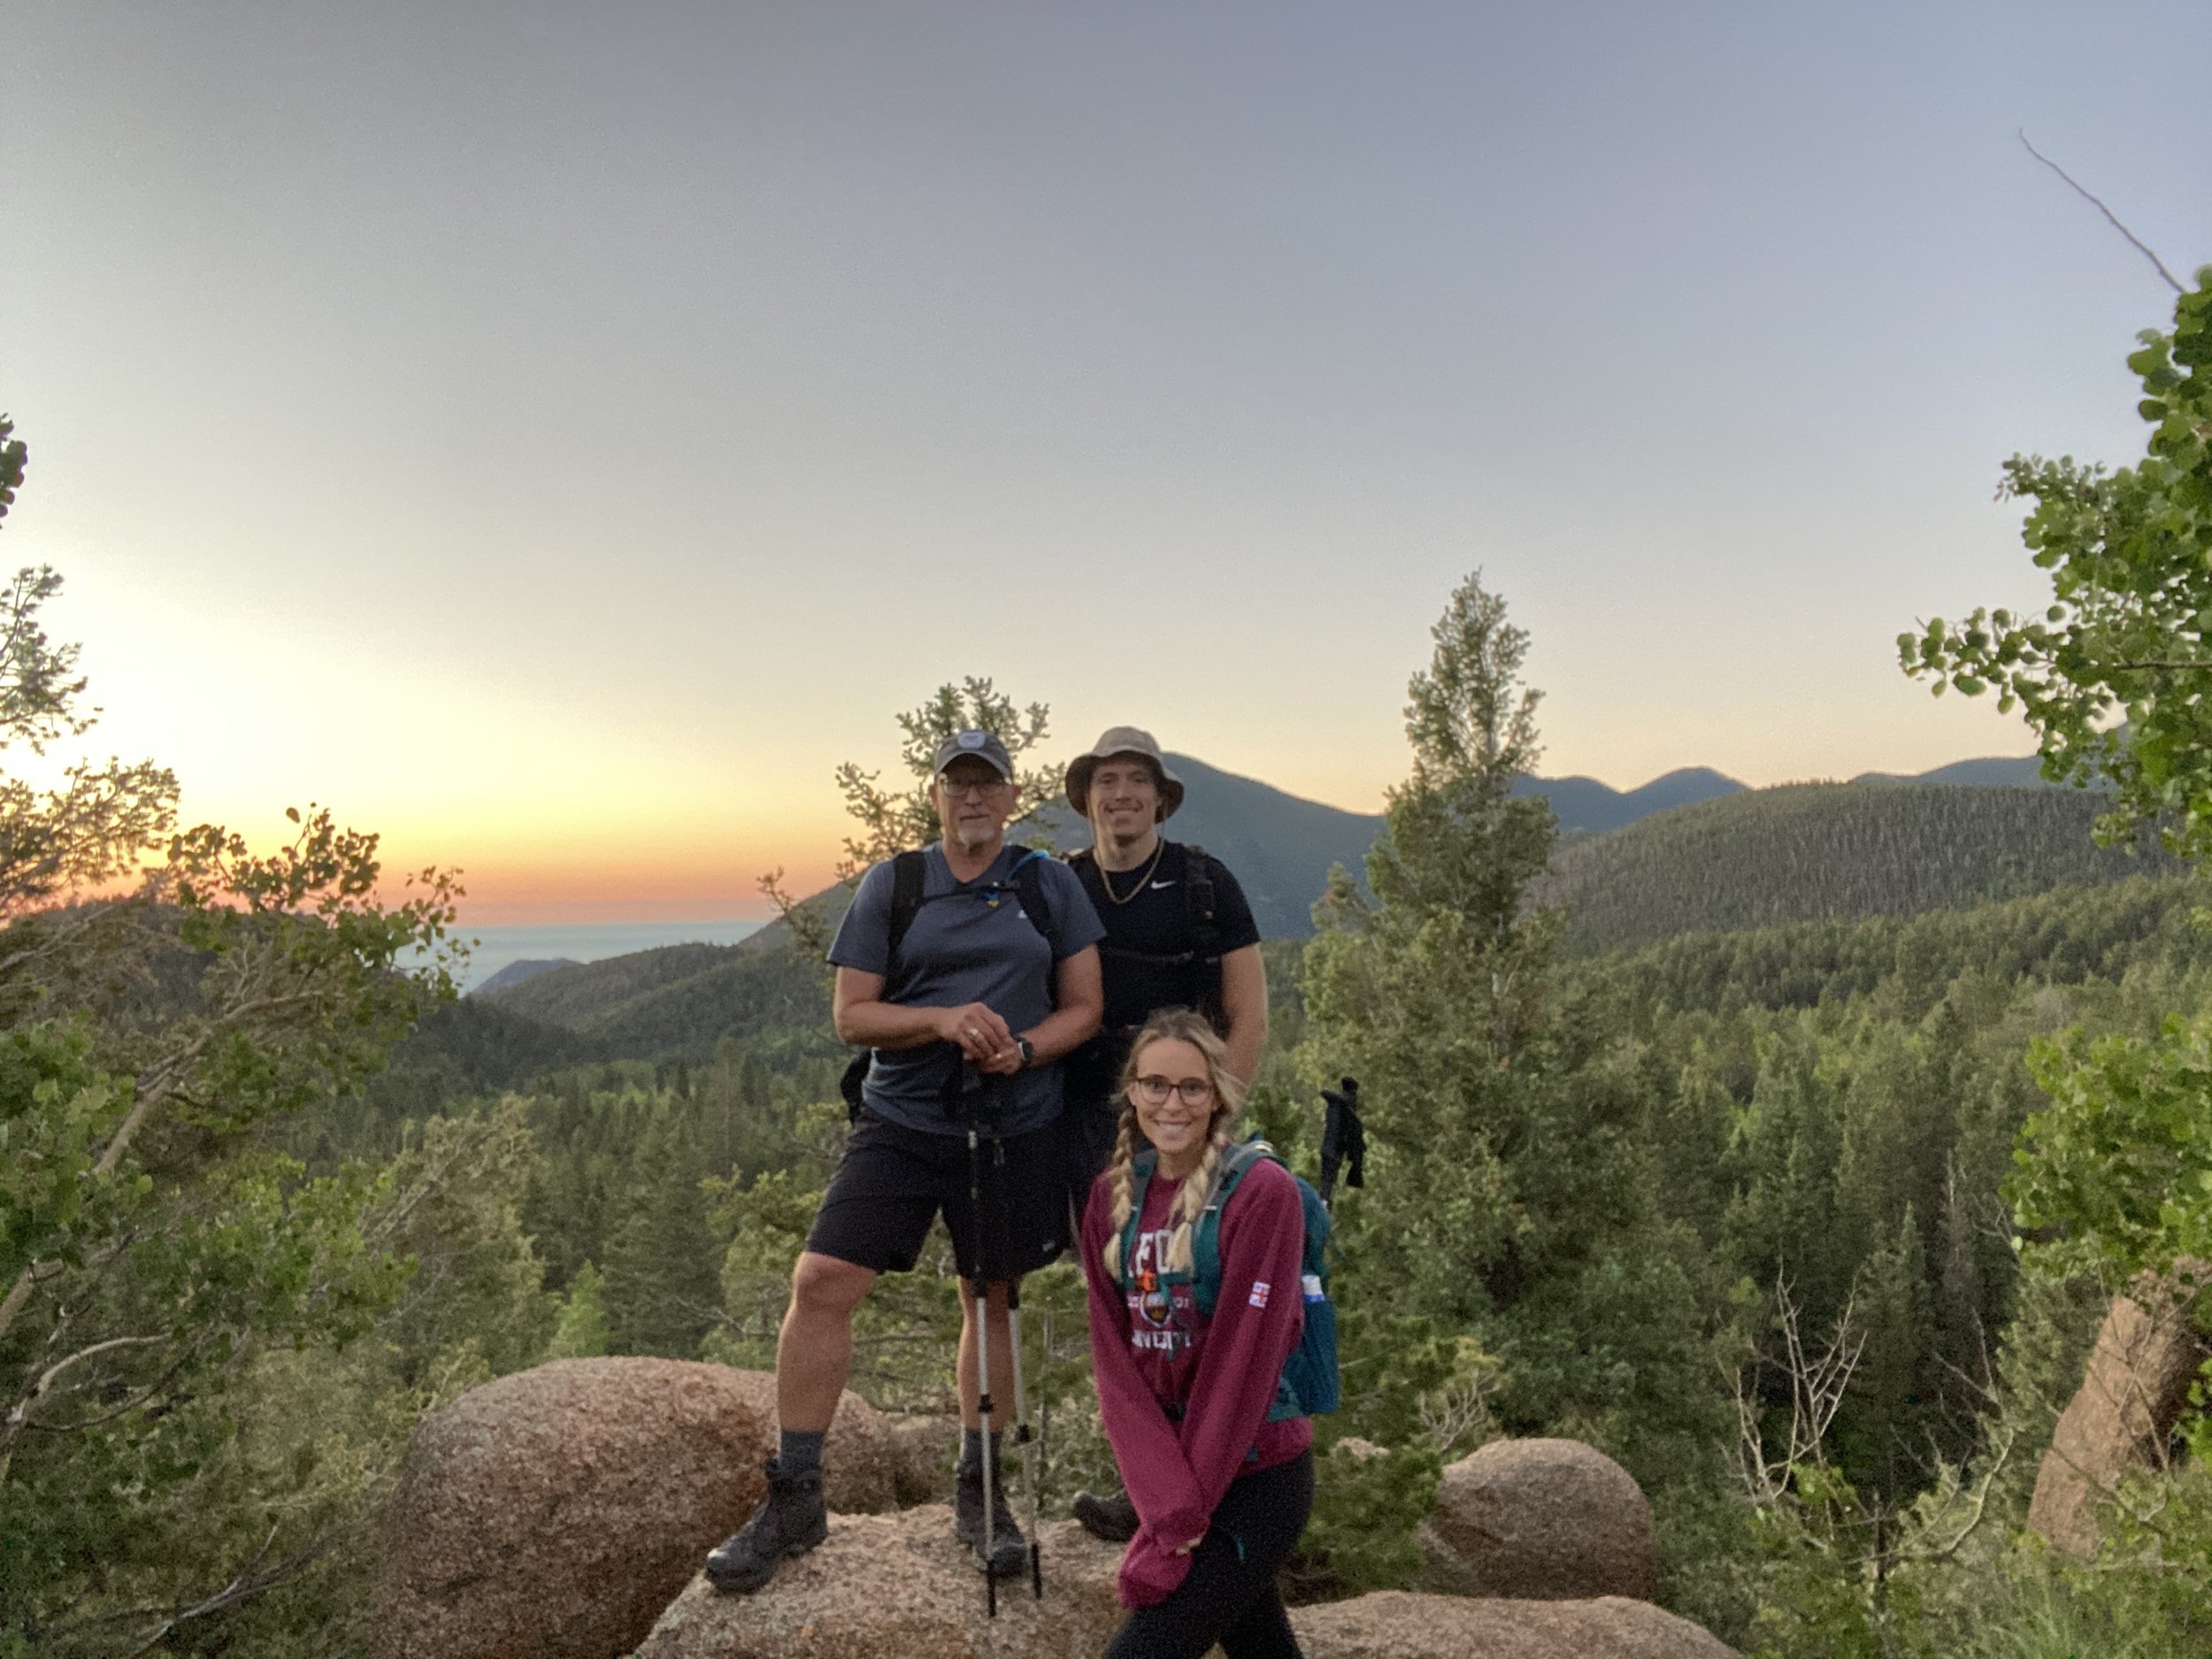
I had the amazing opportunity to climb Pikes Peak (America’s Mountain) on July 4, 2021 with my Dad and Sister. It truly was an amazing experience! Being able to create and cherish memories like that is what life is all about! I wouldn’t trade experiences like that for the world! Sharing my hobbies and passions with others is one of my absolute favorite things to. Being able to take some of my family along on a hike like that made it that much better! I especially couldn’t be prouder to have a stud of a dad climbing Pikes Peak a few days before his 61st birthday! To top everything off, this was the last stop on my month long road trip out west!

Shot on iPhone 11 using Snapchat (No need to talk about how amazing the picture quality is!)
The information below is really for the first timers and individuals that are seeking some extra information on preparing for a hike like this. I do not claim to be an expert by any means, but can offer my opinions based on my own experiences. My hope is that at the end of this article you feel like you have a good grasp on how to plan for your climb! An important note is to consider the time of year you plan to climb. It may seem obvious, but this factor may be the most important in the planning for your adventure. Understanding the conditions so you can pack appropriately is vital in being prepared. Not to mention, packing the right gear simply just makes the expiernce a whole lot more fun.
Preparing for the Climb:
There are two sides to this. Having the proper gear, knowledge, and plan and then being in physical shape enough to climb. I won’t be diving into how to prepare for a climb such as this in terms of physical conditioning, but I will throw out a quick tip. If you are planning well in advance, spend more time than you think on your feet. This means going for hikes, going for walks, hitting the gym, going on runs, etc. The better shape you are in, the more you will enjoy the climb. You will be hurting less and also be able to tolerate the increasing altitude (meaning decreasing oxygen levels) better simply because your body is more efficient the “fitter” you are. That being said, if you take the necessary safety precautions and are just wanting a gut check but aren’t in the best shape, then I encourage you to go for it and see how well you do!
Now to focus in on the gear and planning side a bit more:
Gear
Having the proper equipment will not only make your journey safer, but much more enjoyable. To see the gear I use and trust check out My Gear page here! Knowing you can trust the gear you have and also ensure it is as little hassle as possible to use, is an aspect that cannot be passed up. For example, a rain jacket that you know will actually keep you dry, boots that you know have good support and traction, a backpack that is comfortable to wear and wont tear if it gets caught on a branch. The list goes on, but if one of these were to fail, you would certainly be pretty miserable and potentially have to call off the hike depending on severity. Being prepared when heading out into remote areas is of the utmost importance. Often times you do not have cellular service or quick access by rescue services. This means being able to handle situations on your own until you can get rescue service assistance is vital. It could very possibly be the difference between life and death. From the first step into your climb, you are at the mercy of the elements. Your preparedness determines your ability to handle the elements you may encounter. It is also vital to understand the symptoms and dangers of Altitude Sickness. Head here to learn about what it is, symptoms, and what to do if it happens. The short answer is if you have symptoms, descend immediately.
Now that we got the warning out of the way, lets dive into all the good stuff! You are about to embark on an incredible adventure! Get the gear together, hop in the car, and get to the trail head! Below is a list of gear I recommend having with you. What you need will be somewhat determined by your expiernce level and hiking style. If you have multiple people hiking together, plan to share the load! No need to have duplicates of things if not necessary. For example, only one person needs to have a water filter carried for the group if your goal is to have a light back pack.
Gear I recommend for a Summer climb:
*note this list and plan are based on climbing to top from Barr Trail and catching a ride at top back to bottom.
Daypack backpack- Osprey Manta
Camelback with 2-3L of water- Osprey 3L Camelback
Jerky, trail mix, protein bars, crackers, PBJ, banana, etc... (salty snacks and limiting sugary snacks to avoid energy crash)
Really just plan to pack enough snacks you enjoy to keep your energy up and ward off hunger. Key is to not have so much that your adding pounds to you backpack, but not too little that you are starving.
Filtration system to refill water- Water Filter
Rain jacket
Light weight jacket-Eddie Bauer Cloud Layer Pro Fleece
Light weight gloves-
Sunglasses- KAPVOE Polarized Cycling Glasses
Spare set of socks for if feet get wet to avoid blisters- Darn Tough Socks
Sunscreen
Chapstick
First Aid Kit- First Aid Kit
Knife or Multi- tool- Benchmade Griptilian Knife
Lighter/ matches
Headlamp (with fresh batteries)- PrincetonTec Remix LED Headlamp
Hiking Poles
I would say this is optional for climbing Pikes Peak. Dependent on your fitness level and age this could be useful however. My sister and I didn’t use a poles and didn’t feel much need for them but my Dad did and certainly found them useful. My sister did bring poles but found she did not need them and stated she would not bring them again on the hike.
Battery pack with phone cord- MyCharge Battery Bank
Compass (odds are you won’t need this if on a trail, but is good to have if you get lost)
Trail map
I personally prefer a waterproof topographical map with the hiking trails in the area. If you can read a map, this is the method I would recommend to you. I say this simply because there is no worry about battery life or cell service if using a map on your phone.
If using a phone for navigation I recommend:
View Ranger- Free to use. A fantastic navigation map with topo lines and trail routes. Works offline as long as you download the area in advance. The paid version is well worth it if this is your method. Absolutely fantastic navigation app.
Alltrails- Works well if you pay for complete access and offline access to its map. I prefer to use this for finding trail heads, routes, and information about the climb but then switch over to View Ranger once on the trail. I do not have the paid version of the app since I use View Ranger.
Can of Air (very much optional)
This is most certainly not a necessary item. However, altitude sickness is a very real thing. especially if you are not used to higher elevations already. This is a bulky item to carry but weighs practically nothing. It can offset the symptoms to allow you, or someone on the trail struggling with altitude sickness, to get back to the bottom safely.
Trash bag
To keep any trash and waste from littering the trail and environment
Ounces turn to pounds in the mountains! Pack smart! Ensure you have the essentials but don’t be walking up the mountain carrying tons of not needed things!
What to Wear:
Hiking boots or hiking shoes- Salomon Men’s Quest 4 GTX Hiking Boots
Nice hiking socks- Darn Tough Socks
Cooler clothes due to afternoon heat (have jacket packed)
A light weight jacket while getting started and warming up
Boonie hat/ baseball hat/ the like
Have your phone on you
Going to want pictures! Plus its good to have for safety.

Shot on iPhone 11 using Snapchat
Planning for the Climb
Next, lets take look at the timeline in order to climb Pike’s Peak. It is extremely common for lightning to occur on Pikes Peak in the Afternoon. Your goal should be to summit no later than Noon in order to avoid this. Being trapped above tree line in a lighting storm is not something you want to do. It is vital to be smart about this. If you see lighting before leaving or shortly after crossing the tree line, go to safety and wait a bit to see if it continues. If you get to the top and a storm rolls in, there is shelter at the top along with a train or rides you can catch to the bottom if you choose to do that.
There are a number of ways to climb Pike’s Peak. Many people choose to do it as a 2 or even 3 day trip. The plan outlined is for a one day trip from bottom to top starting at Barr Trail.
Day/ Night Prior:
Preparing the night prior by having everything packed and ready to go will help tremendously in waking up early to start the adventure. Not to mention allows you to do quick last second checks and changes before you head out. In addition, properly fueling your body 3 days, day before, night prior, and morning of your climb will prove to be a priceless piece of prep. Nutrition is key. Ensuring your getting plenty of carbs and protein and upping your water and salt/ electrolyte intake during this time period will make sure you body is ready for the miles to come.
Hydrate heavily and get plenty of salt day before climb
Nutrient and calorie dense dinner focusing on carbs and protein
Be completely packed (including water) night before
Don’t pack unnecessary items. If you are trying to decide if there is a certain item you need to bring or not, try and think of the realistic chances you need that item? If it is more unrealistic then not (and is not something that could be life threatening if left behind) then don’t bring it.
It is also a good idea to keep an eye on the weather in the general area as well as on the summit of Pike’s Peak. Go HERE for summit conditions and information in real time.
Climb Timeline: (Based on getting picked up/ taking train from top back to bottom)
1:00 am - Wake up
1:15 am- Arrive at Ihop at 1:15 am
Get a big breakfast. Getting lots of Carbs and Protein before starting this trip is going to help fuel the hike as well as help prevent cramping.
1:55 am- Leave for trailhead
2:20 am- Arrive at Trailhead
2:30am- Begin Climb from Barr Trail (6,707 feet)
6:30 am- Arrive at Barr Trail Camp (about 6.5 miles in around 10,186 feet)
Eat some lunch/ breakfast 2 or some snacks to avoid “Bonking”
Use water filter to completely top off on water in stream by camp
7:30 am- Leave Barr Camp
12:00 pm reach Pikes Peak Summit (about 7 miles from Barr Camp)
Shot on iPhone 11 a a few miles into the hike
Safety Considerations:
No bail out points
Once you start the hike, aside from turning around or catching a ride at the Summit, there are no bail out points to be picked up. This means being prepared is vital.
Turn around at Barr Camp
There will most likely be other people here should you need help for some reason. There is also a small shed that cooks small meals for campers here. Best option for help mid trail.
Must reach summit or turn around. There are connecting trails but none will get back down faster. Obviously the option to simply turn around is always an option. At some point however, you will be closer to the top than returning to the very bottom. This means you have a point of commitment. Once you cross that point, you have virtually committed to reaching the top. This point may be different for everyone and based on circumstances. Just use common sense.
Last bit of Motivation!
You will be tired and you will be challenged. The mountain will test you. Be prepared mentally to grind and enjoy the personal hell of “enduring the suck”. I promise you it is worth it and if you go in with a determined mind, you will enjoy the challenge it presents.
Ounces turn to pounds in the mountains! Pack light but ensure you have the essentials!
You will feel the altitude. It is inevitable. The degree to which you feel it will depend on fitness, hydration, time spent adjusting to the altitude, and it frankly just affects people differently.
You will most likely feel a bit light headed, winded, and sluggish. This is normal. Do not freak out about this. It is when your symptoms become as outlined here that you need to start taking action to descend.
Hydrate before you feel thirsty to stay ahead of curve and avoid headaches. This will also help prevent altitude sickness and keep you going all day.
If you found this article helpful and you ended up giving climbing Pike’s Peak a try, I would love to hear about it! Comment below or send me a message on Instagram!
For a full List of the Gear I use for adventures like this, check out My Gear page HERE